Emotes are a big part of the gamer world and creating custom memes for a Discord server builds the server's community further. They are not only used as part of the text in messages but as reacts to other's posts, announcements, and videos.
This post will teach you how to add emotes to your Discord server after using an emoji maker for Discord to create them.
How to Add Emotes to Discord
The good news is that you can upload emotes to Discord from both your desktop and your mobile app. This post will give you step-by-step instructions on how to do both. Your server's emotes will then display together whenever someone wants to use them. Keep emoji names simple to remember for quick access.
Upload Emotes to Discord on PC or Mac
Here is how you can upload your custom emotes from your desktop computer:
-
Step 1
Launch Discord and select your server from the left side of the screen.
-
Step 2
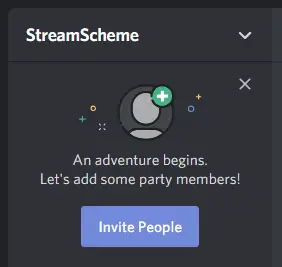
Click server name at the top-left of your screen.
-
Step 3
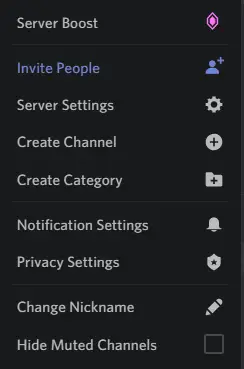
From the drop-down menu, click the gear icon indicating the Server Settings.
-
Step 4
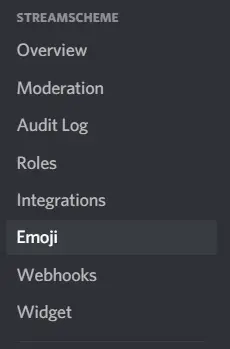
Select the Emoji option in the left column.
-
Step 5
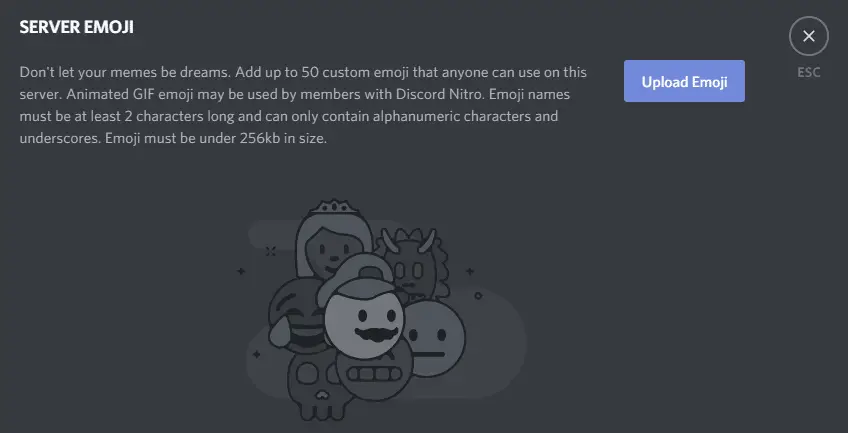
Click the blue "Upload Emoji" button.
-
Step 6
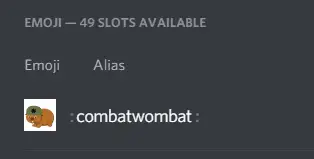
Select the emote from your the folder on your computer where it is saved. Make sure it is sized appropriately (see below).
-
Step 7
Feel free to change the alias of the emote. Each must be at least 2 characters long and can only contain numbers, letters, or underscores.
-
Step 8
Your emote is on the server. You can check it on any channel.
-
Step 9
Repeat up to a maximum of 50 times.
How to Upload Custom Emojis to Discord on Mobile
The easiest way to upload custom emotes to Discord from your mobile device is to use the Discord app. After downloading and installing the app, log in. Then follow these steps:
-
Step 1
Launch the Discord app and select the server of your choice from the left side of the screen.
-
Step 2
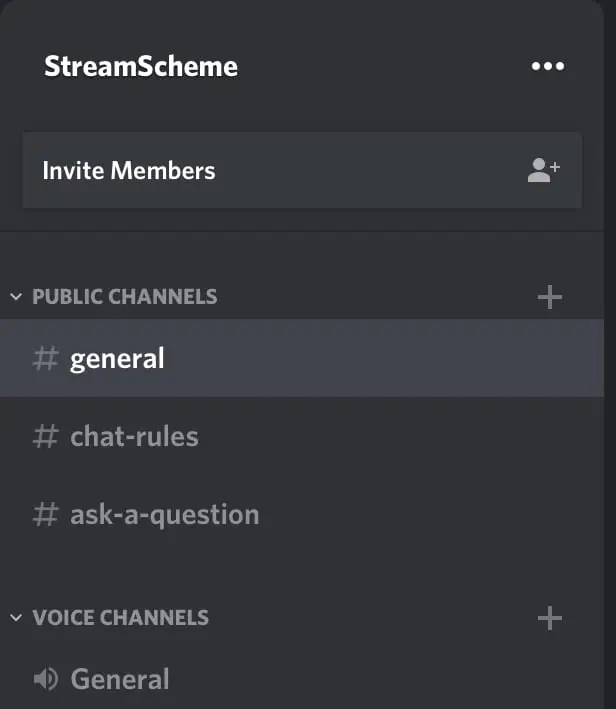
Click the three menu dots next to the name of the server. A menu will pop up for the server.
-
Step 3
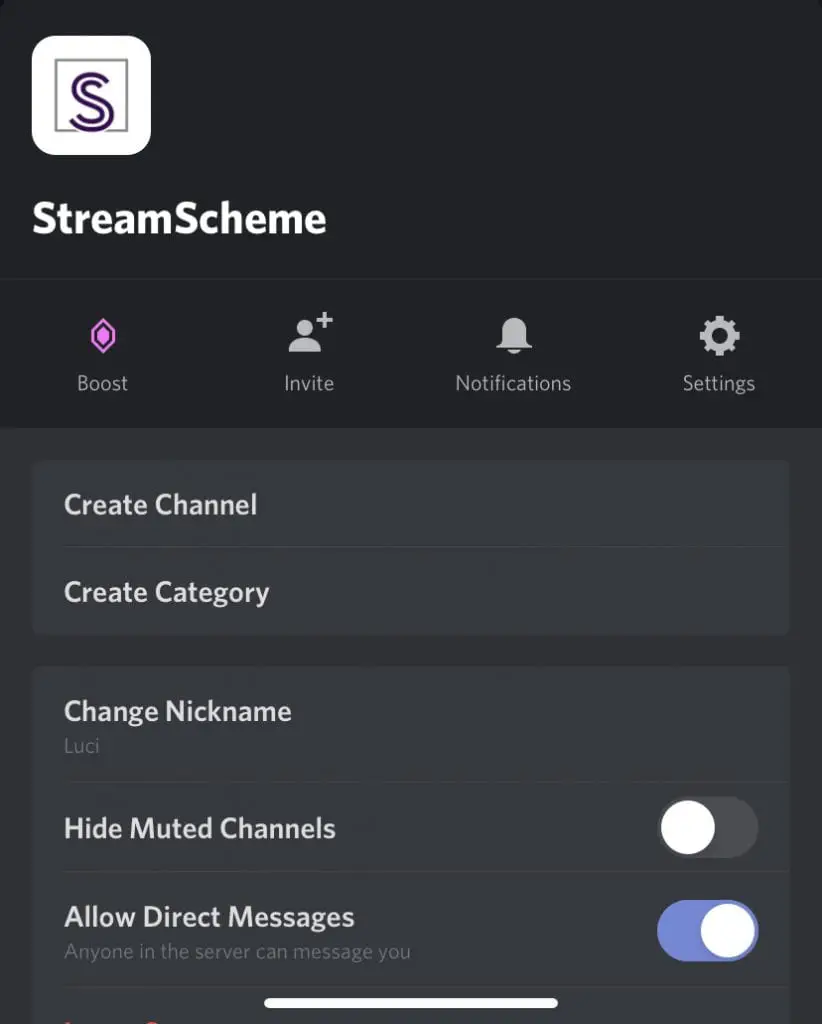
Select the settings cog from the menu.
-
Step 4
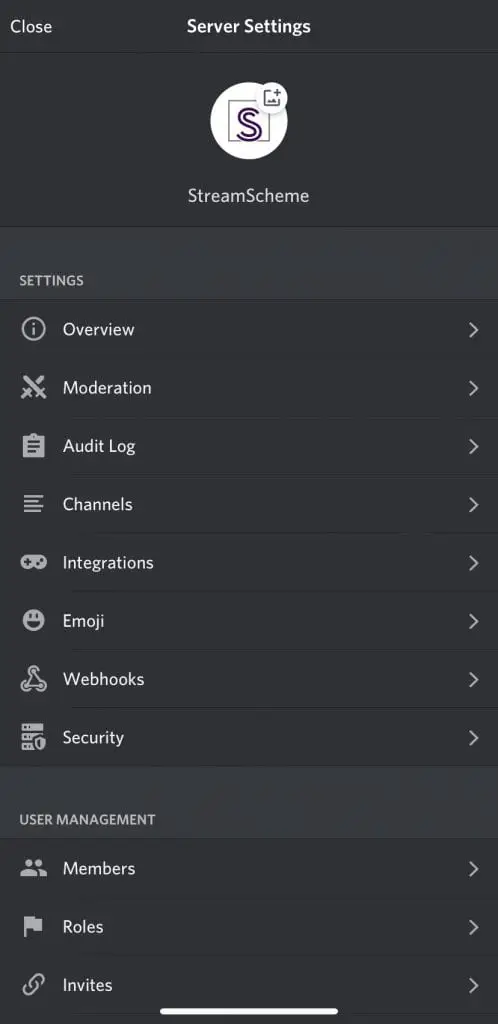
Click the "Emoji" option from the selection that appears.
-
Step 5
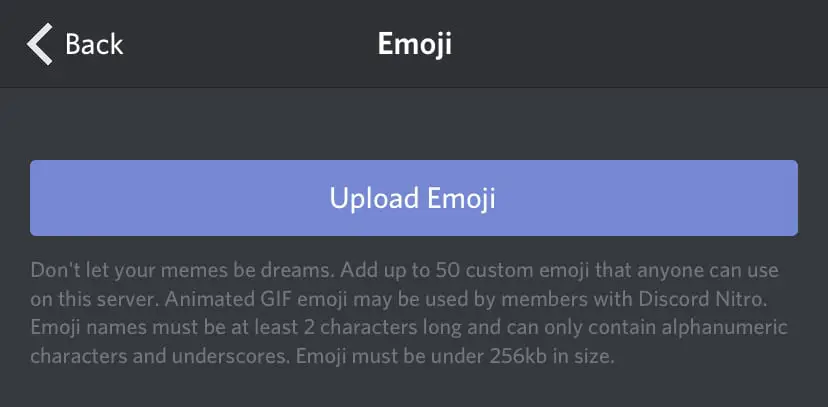
Tap the blue "Upload emoji" button at the top of the screen. You will need to make sure that the emotes are sized correctly (see below).
-
Step 6

Feel free to change the alias of the emote by tapping on it and typing. Each must be at least 2 characters long and can only contain numbers, letters, or underscores.
-
Step 7
Your emote is on the server. You can check it on any channel.
-
Step 8
Repeat up to a maximum of 50 times.
Where to Find Emotes for Your Discord Server
You would create emotes for your Discord server in much the same way that you would create them for Twitch, YouTube, or any other platform. You can design them yourself or look to have them created by another designer.
Have them Custom Designed
Using a professional designer to create your emotes will ensure that you get the emotes that you want from the very beginning. Here are a few places where you can find freelanced work:
-
Own3D
Own3D has several packs of emotes that you can purchase for your server. While these are optimized for Twitch, they can also be used on your channel (very easily if you sync your accounts). You can also reach out to the company to have custom emotes designed. Own3D has been in the industry for years and has a lot of experience in helping streamers and gamers grow their channels.
-
Fiverr Freelancer
You can also find a freelancer on Fiverr to create your Discord emotes for you. Browse through the portfolios to find a designer you like, then be clear about what you want them to create for you.
Designing Emotes for Yourself
You can also learn how to make Discord emotes yourself if you have an artistic eye and want to learn. Here are a few programs that you can use:
-
Gimp
Gimp is free software that offers several different design elements. It is a good program for beginners who want to learn the basics of design.
-
Adobe Photoshop/Adobe Illustrator
You can also use Adobe Photoshop or Adobe Illustrator to create emotes. While these are more advanced programs, once you learn how to use them well, you have the potential of creating almost anything.
Discord Emote Size
- The file size of the custom emote must not exceed 256 kb.
- While you can use images that are 128×128 (or greater value), they will be resized to 32×32.
- If you are designing use thick lines to help things stand out and worry less about adding tiny details that won't be noticed once they are resized.
How Many Custom Emotes Can You Have on Discord?
You can have up to 50 emotes on Discord for anyone to use. If you (and others) have boosted it with Nitro, you may be able to upload more.
Discord Nitro also unlocks the ability to have animated emotes on your Discord channel.
How to Sync Your Twitch Emotes to Your Discord Channel
You can also sync your Twitch channel to your Discord channel through Twitch Integration, which will auto-sync your Twitch emotes. Only your subscribers (Twitch will sync those as well) will be able to use the emotes.
Conclusion
Having custom emotes in your Discord server is a great way to build gaming or streaming community. Work together with your teammates to decide which emotes to upload.

About the Author
Chris
Chris is a digital marketer with a strong background in small business and influencer branding. He applies his knowledge of content and promotional strategies to design actionable advice for new and intermediate streamers. When he's not busy crunching analytics, he can be found in the salt pits of League of Legends.
Source: https://www.streamscheme.com/how-to-upload-custom-emotes-to-discord/
Posted by: terrytrottiere0193381.blogspot.com

0 Comments